Saturday 13 February 2016

15: Execution

Constantly uploading to the server is needed to check if the code is working. 


However, I encountered a problem twice after uploading the website. The html codes are working but the css code does not work. I tried cleaning up the server folders the first time and upload it again, it worked and the css codes shows again. But for the second time, It doesn't work even after i clean up the files. Luckily I have backed up the folder. I uploaded the backed up folder and it was working again. 

I tried searching for the problem and its explaining more towards the back end scripting, and I dont really know how to solve it. But for my case, I think it should be because I uploaded the files into the wrong file, or i uploaded it too many times. 


14: Execution

I started to work on the website by doing the index. 

The star in the index took quite a lot of time as it is coded using css- clip path. to make calculating the points easier, a guide was made in illustrator. Although it does not get the point i want exactly, but it is close enough for me to adjust it to the point i want. Initially, I started out calculating the points by using pixels, however, i realised that it might not be a great idea, as i can make the process faster by using percentage. 


After that, I worked on the php . I had a tough time figuring out the php codes as I did not really understand how it works and the structure of writing the codes. This is led me to spent quite a lot of time dealing with the php codes as It was case sensitive. The form below was created using php codes. I have searched for many ways to beautify the form as I have planned in the reference, however it was not working for my website. 


As I tried to insert some information into the form to see if it was working, it gave me an error which I couldn't figure out. Though i searched and searched, I still couldnt solve the problem. However, When I get back the the main page to see if the information had been inserted into the online database successfully, It did. 


As for the main page, there was a lot of problems for me because I had to code everything together. For an example : click the star and show data  seems easy but it was hard because the star was made from css clip path and as it was pure css code, it was tough to make it a button and code it with php together also. 

Another issue that i face with the main page is the overlapping of elements ( php data, background and images). As seen from the other page, the overlapping elements seems fine as I used z-index to adjust it. However, the z-index does not seem to be working for the main page, and i think that it might be because of the php data. As the php data might get more and more, it is hard to adjust the 'top' for it too as it requires a fixed number. (top is a css code that adjust the overlapping area for the elements). Initially the php information was planend to be shown one row, after the button was clicked, but in the end, i couldnt make the button work, so i improvised it to show the information all together in the main page. 


I would say that I need to study and learn more about php as it is quite important for web designing. For now, I guess i would have to settle with this as time is running out. 


Sunday 17 January 2016

13: Beta test

After producing the website. Next comes beta testing. The beta test was conducted face to face so that I can observe them navigating the site.

Some questions i have jot down for the beta test was:
- Try Uploading your own pet story.
- Look for other's pet story.
- Would you visit this page often ?

Some of my friends who are pet owners,  involved were, Janice, Yen Shan, Xie Yi, Hanna and Ann.

Janice's feedback:
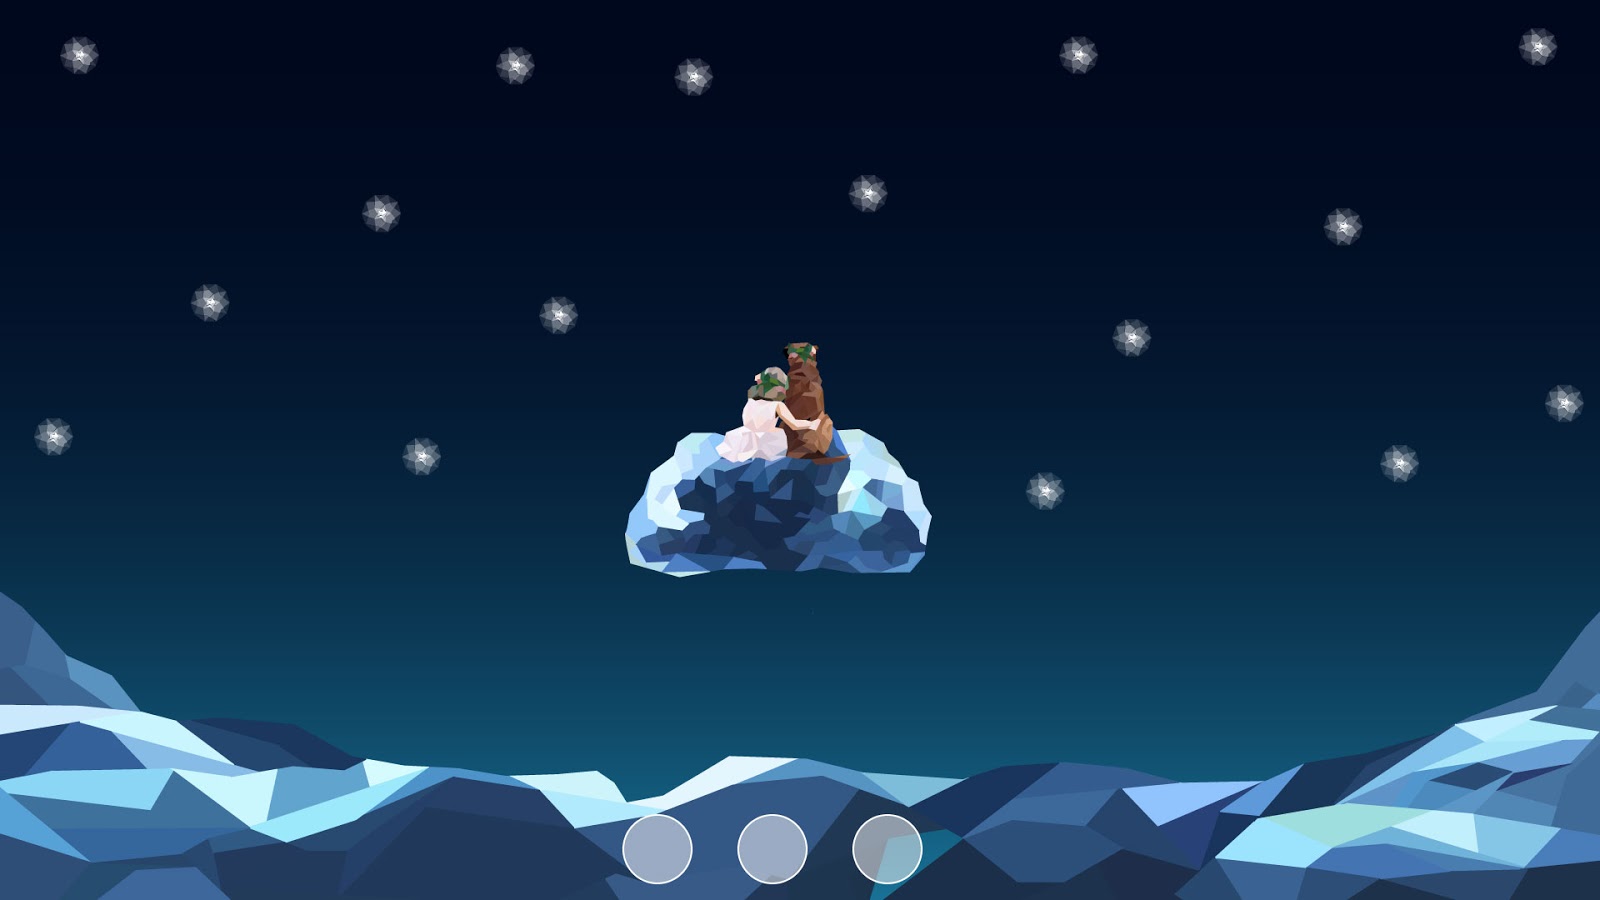
- The visuals are pretty.
- I wish to look at my story after i uploaded it.
- Some issues on navigating the main page as they do not know to click the stars to look at other people's pet story.
- Yes, I would visit the page often.

Yen Shan's feedback:
- Her response to the website is fine.
- Uploading pet story can be done without guidance, quite a bit of time was spent on the main page as she has difficulty finding out how to read other people's story.
- Visiting the page again depending on her mood, for an example, when she misses her dog, who had passed away for quite some time.

Xie Yi's feedback:
- His response to the website is fine.
- Uploading pet story can be done without guidance, quite a bit of time was spent on the main page as she has difficulty finding out how to read other people's story.
- High possibility of not visiting the page again as he is not interested to know what other people are doing with their pets.

Hanna's feedback:
- Shows interest in the webpage even though she doesn't know what it is.
- Uploading the story by herself without guidance.
- Quite some time spent on finding out how to see other people's pet story.
- Yes, she would likely be visiting the page again as she is interested to know what other silly stories other pet owners have experienced with their pets.
- i cant reply and like other people's story ?

Ann's feedback:
- Shows some interest in the webpage.
- uploading the story without much difficulty, some time spent on how to read other people's story.
- Glad that such a page exist to serve as a sharing and supporting platform for pet owners. As her dog is quite old, she is expecting death to come to her dog soon and she understands that it is hard and sometimes we need to get it out to people who will understand.

Some common issues that I find with the beta test result is that, users are taking more time to look at the main page as they do not know that they should click on the stars to be able to read other people's pet story. Probably I would be making some hovering codes so that the star gives some feedback to indicate that it is clickable to the users.


12: Execution

After gathering the alpha feebacks , I have made some changes with the visuals and have consider more on the user flow.

Below would be the refined visuals.

index page

Upload your story page

Confirmation page after uploading

Main page, where users discover other people's pet story

Pet story pop up page. 

So now, what's left to do is to produce the website using html and css.

11: Alpha test

The alpha test was conducted verbally with peers, after the mockup of the visuals are produced. 

Some questions I have jot down to ask on the alpha test was: 
- Does the visuals look like what I want it to be ? (bottom: Cloud, Middle: girl and dog sitting on cloud) 
- is the bottom cloud position too high or too low ? 
- icon placement 
- comment page layout
- upload story layout / design

mockup visuals used for alpha testing.

mockup visuals used for alpha testing.

mockup visuals used for alpha testing.

mockup visuals used for alpha testing.

mockup visuals used for alpha testing.

Peers involved in the alpha testing was Brenda, Sebastian and Xinwei. 

Brenda's feedback: 
- The bottom cloud look like water. 
- Other than that, it looks fine to her. 
- The middle visuals look like a girl and a dog to her. 

Brenda's feedback

Brenda's feedback

Xinwei's Feedback: 
- The middle visuals look like couple or a bear. 
- The bottom cloud look like ice. 

Sebastian's feedback: 
- The bottom cloud look like ice. 
- The middle cloud is ok.
- The middle girl and dog visual looks like teddy bear. Probably make the flower color more vibrant or make the dog ear stand or add a collar to the dog. 
- bottom cloud position was suggested to be animated to enhance the user experience. Cloud rise frm below. 
- Icon placement: think of the user flow, and was suggested to make a few pages instead of putting everything all in one page. 
-Comment page layout: Experiment with different title font 
- think about the user flow. 


10: Execution

After the learning process, next comes the execution.

I started to make a mockup of the visuals that I had in mind using photoshop.

mockup produced using photoshop

After that, I started to reproduce the mockup in illustrator using a low poly art style. Low poly art was used because the visuals are going to be reproduced using css clip path. ( if the visuals are curvy, it is troublesome to code the x and y position one by one. )

mockup produced using illustrator

Then, I was struggling on some pages as there was an issue with the aesthetics of the webpage and also the usability of the webpage. Some examples were saved as I thought that it would be good to have someone's opinion on it.

experimenting on the layout of the webpage

experimenting on the layout of the webpage

experimenting on the layout of the webpage

experimenting on the layout of the webpage

experimenting on the layout of the webpage

experimenting on the layout of the webpage

experimenting on the layout of the webpage

experimenting on the icon placement on the webpage

experimenting on the icon placement on the webpage

experimenting on the icon placement on the webpage


Sunday 10 January 2016

9: Learning

Still, on Php, MySQL and online database.

I started from connecting to the database again, and this time, after watching another tutorial, I decided to give their way a try.

Codes in file index.php
Codes in file connection.php

It didn't work and gave me this error.

screenshot of the error page.

So, I tried uploading to the public_html file and tried it again and it still doesn't work. Then, I went on and asked Joanne (taught our class php and database related stuff) and she helped me checked on the codes and suggests that the problem might be in the link.
 
Conversation I had with Ms Joanne.

So, after changing the link, It finally worked.

The 3 names are echoed from the online database.
Information being retrieved successfully from the online database.
The information can be uploaded into the online database through form created in Dreamweaver.

References: 


Melvin Walls (2009) Php and MySQL - Connecting to a database and adding data. Available at: https://www.youtube.com/watch?v=tqfl51HVodI [Accessed: 1 January 2016]
  • I followed this tutorial exactly and it was very much helpful.

8: Learning

Again, still on Php, MySQL and online database. 

Next, connecting the online database from Dreamweaver, but before that I need to connect to the server.. This is the part that I was stuck for quite a while as it keeps failing to connect.

Connection failed.
Connection failed again.
Connection failed.Again.

Well after many days of trying, and asking around, I finally get to connect successfully to the server. and I found a few problems I made that keeps failing the connection.
- server name is incorrect: It should be localhost instead of leo (another term I found in my website host Cpanel)
-username and password should be the username and password for the ftp, not the database.

Finally, it gets connected successfully. After many many many many many many times.

 Then, its time to connect to the database. I started by following the tutorial from the tutorial from Webassist and Bluehost. But it didn't go well. So, this ends in frustration and a severe headache.

Connecting to the MySQL database. Notice the selection on the bottom right.
Filling up the pop up window.
Failing to connect to the database.


References: 


Webassist (n.d.) Web development tutorial. Create a Php database connection. Available at: http://www.webassist.com/tutorials/Create-a-PHP-database-connection [Accessed: 1 January 2016]
  • This website gives a very clear explaination and step by step visuals to teach the users on connecting to MySQL database through Dreamweaver.
Bluehost (n.d.) Connecting to your MySQL database from Dreamweaver. Available at: https://my.bluehost.com/cgi/help/381[Accessed 1 January 2016]
  • From this site, I get to know what to write in the MySQL server field.

7: Learning

Still, on Php, MySQL and online database. 

Next, I watched a few videos on MySQL and this particular series of videos was very much helpful in getting a MySQL database and creating and inserting data into the online database.
(I only watched until the third video in the list because the rest was entirely working on the online database, but what I wanted was to connect and access the database from Dreamweaver.)

Then I got to know that MySQL database is usually provided by your website host, so I called mine to confirm before I renewed my website host domain name. Then I learned to create an online database on MySQL and creating and adding a user and password to manage the particular database.
Then I continued to follow the tutorial and learned how to insert data into the database in MySQL itself.

Creating database
Database created.


Learned:

MySQL database is usually provided by your website host.
Creating the database in MySQL and also creating and adding user and password to manage the   particular database.
Inserting data into the database in MySQL itself.


References: 

Thenewboston (2014) MySQL database tutorial. Available at:  https://www.youtube.com/playlist?list=PL32BC9C878BA72085 [Accessed: 1 January 2016]
  • A tutorial series on MySQL database with very clear and step by step explanation. It was very helpful, but I only watched up until the third video, as the rest was working in MySQL itself. But I wanted to accessed the database through Dreamweaver.

6: Learning

Php, Database and MySQL is next on my learning plan.

I have no idea what MySQL is and I don't know why but I didn't start with getting know it. At first, I only know that I need php to connect and grab information from the online database. So, I just googled php and online database around and didn't really find what I wanted.

Then, after a long time of searching around, I finally got to know what MySQL is and I started to progress more since then.
 
A very clear explanation on what MySQL is.


Learned: MySQL is an online database


References: 

w3schools (n.d.) Php MySQL Database. Available at: http://www.w3schools.com/php/php_mysql_intro.asp [Accessed: 1 January 2016]
  • Website on coding tutorials where I get to know what exactly MySQL is. The information listed there was very clear.

5: Learning.

Next, Css animation.

The link that I have jot down on my Learning plan was very useful as the information was very clear and complete. It also have references for the codes in which is very necessary for me as coding has a very specific way of working.

Tried the background color animation first.
A gif of the background color change animation working.
Clipped the Css animation using Css clip path to see if it works. It does. 
A gif of a user triggered animation. The animation (circle become bigger) is only triggered when the cursor touches the initial circle (the smaller, untriggered one).
Added another code (animation-delay) in it. It works as the color change only starts after 10 sec delay.

There are more Css animation code in the webpage that I referred to, however I have decided to stop the exploration here as I have already grasp how css animation works. The whole process of exploring Css animation took around 1 hour 15 min. Shorter than Css clip path.


Reference:

W3schools.com, (2015). CSS3 Animations. [online] Available at: http://www.w3schools.com/css/css3_animations.asp [Accessed 24 Nov. 2015].
  • The webpage in which I refered to while learning Css animation. The clear and complete information has been very helpful to me thus this is the only website that I referred to for Css Animation.